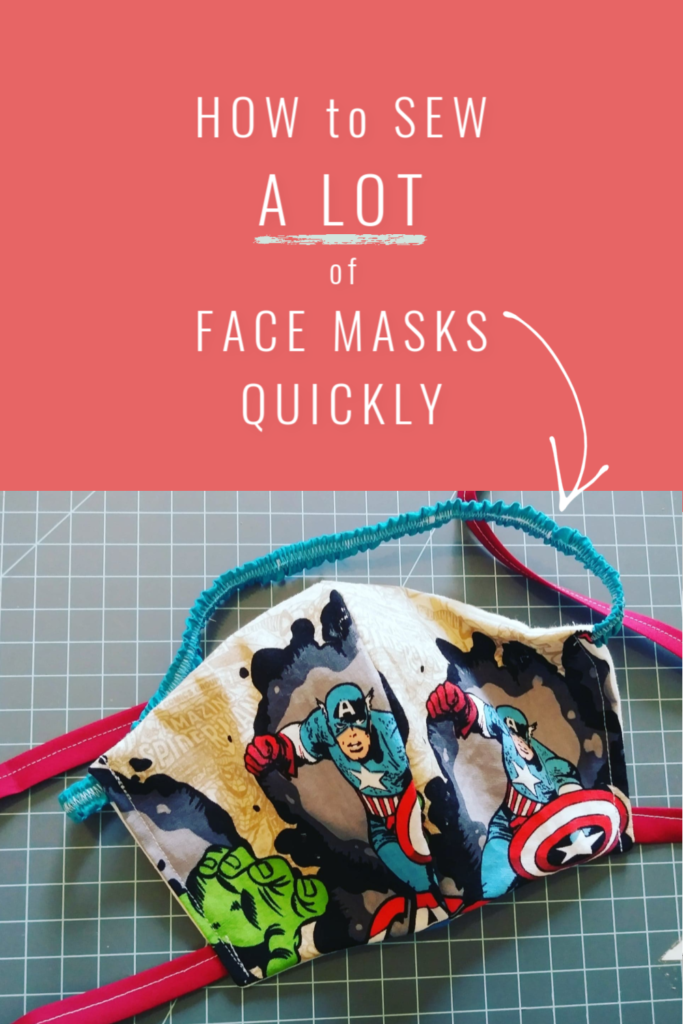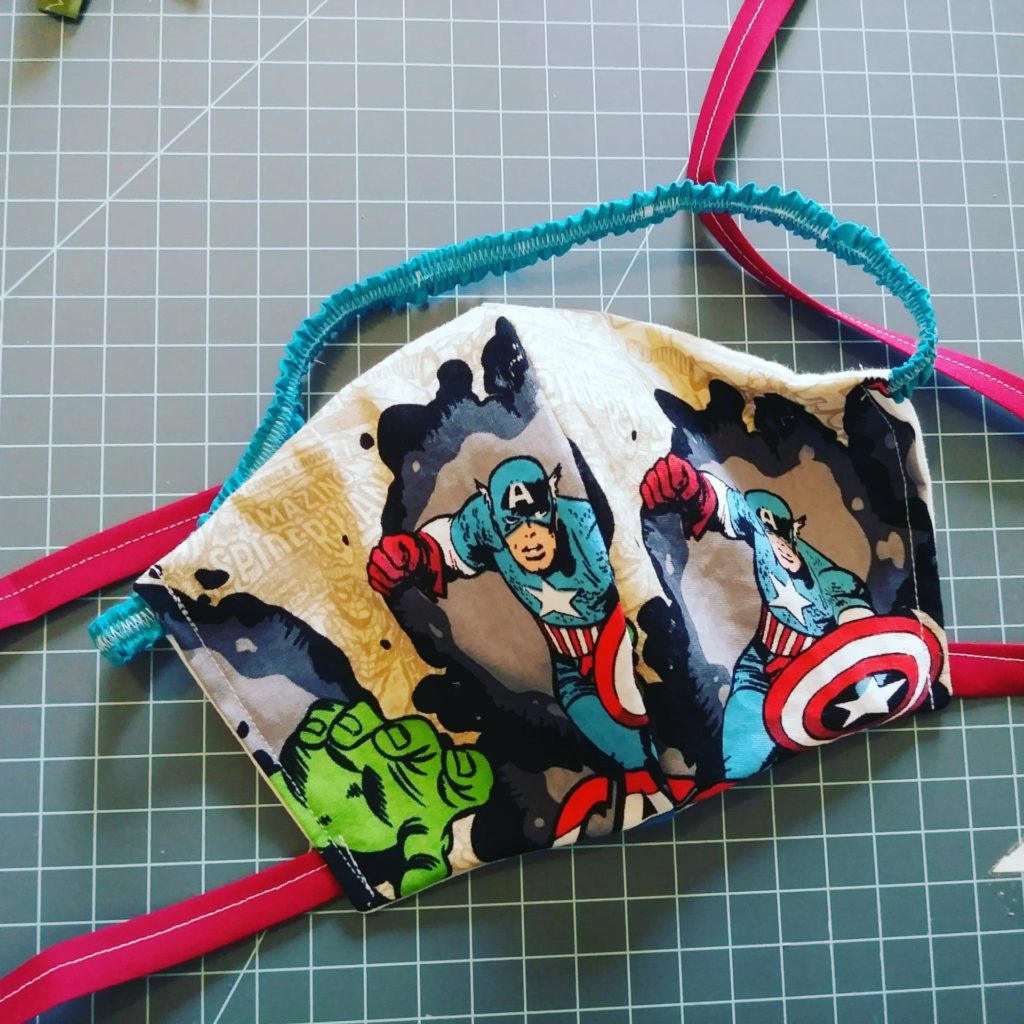
Recently a doctor-friend of mine reached out and asked if I could make some face masks for their practice. Due to the COVID-19 situtaion they were down to just one box of face masks with not hope in site of getting more. So, I got crackin’ and figured out how to pump out a lot of face masks in a very short amount of time.
Before you jump into it I just want to say that this post is about principles on how to sew quickly and can be used with any face mask sewing pattern not just the one I am using. In general the answer to sewing quickly and in quantity is to streamline the process. To sew quickly you must do each step in bulk, assembly line style. Don’t waste your time running from station to station. Cut everything out at once. Then sew the all first seams in one setting and so on.
So go ahead and follow a long but don’t get hung up on the steps of this mask in particular, I simply used this pattern as an example to show how you can make a lot of masks in a short amount of time. So hold on tight while I show you how to sew face masks quickly and in bulk.
Materials You Will Need
- 100% Cotton Woven (bedsheets, towelling, quilter’s cotton/fat quarters, broadcloth, flannel)
- 100% Cotton Jersey (T-shirt fabric)
For more guidelines on recommended materials visit the Mask Makers Forum
If you want to include filter inserts with your masks you will need:
Find Out What Your Community Needs
Different communities are asking for different things. Cloth face masks are not as effective as N95 masks used in the hospitals. Because of this some animal shelters and clinics are asking for cloth masks so that they may donate their N95s to local hospitals.
In other instances hospitals are completely running out of face masks and are in need of whatever they can get so will accept cloth masks as a last resort. Call your local hospitals and animal shelters to find out what your community needs to make sure you are making the correct supplies.
In addition, I made 2 ply masks in this tutorial but I know that some places are asking for four-ply as they are much more effective at blocking pathogens. The higher the ply the more difficult to breathe though so you just need to find out what your community needs.
Here is a website that has been created to help connect mask makers with clinics and hospitals in need. https://www.makemasks2020.org/
Here are some different patterns that are currently being asked for by hospitals
First Steps
Wash Your Hands!
Before you begin, WASH YOUR HANDS! This is a pandemic people, and you are making something for sick people to use! Keep a clean work-space and wash your hands frequently throughout.
Wash Your Fabric
Throw all your fabric in the wash so that by the time you get your pattern ready your fabric will be ready to get cutting!
Turn Your Sewing Pattern into a Template
Print Your Pattern on Card Stock
I was asked to use this pattern by my friend but the principles in this post could be applied to any face mask sewing pattern. The complete assembly instructions for that pattern can be found at that blog post.
To start you will want to turn your sewing pattern into a template. It is much faster to trace and cut a template than it is to pin down a sewing pattern, cut it out, and then move it again. Creating a template out of your sewing pattern is SO simple and will save you so much time .
Go ahead and print your pattern on a piece of card stock. For the pattern I used there were three sizes so I printed it three times. Note * The pattern that I used does not have seam allowance. If you plan to use a serger you will need to add 1/4″ seam allowance and for a traditional machine 1/2″
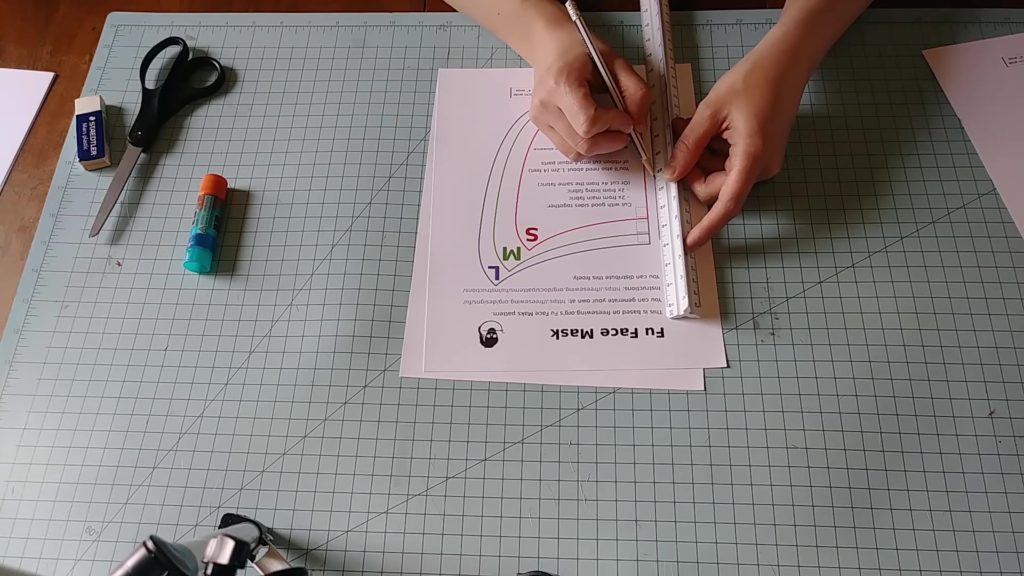
Cut out your pattern piece on the line you drew when you added the seam allowance.
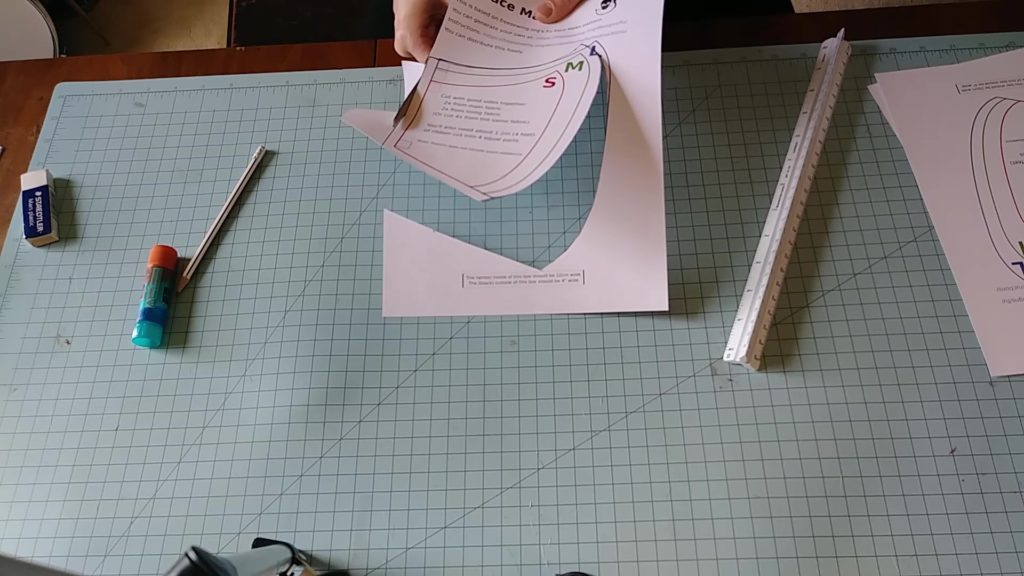
Create Layers of Thickness with Card Stock
Now it’s time to turn your pattern piece into a template. Get some more card stock and glue your cut out patter piece on with a glue stick. Now cut along the edge again. This makes your pattern piece two layers thick.
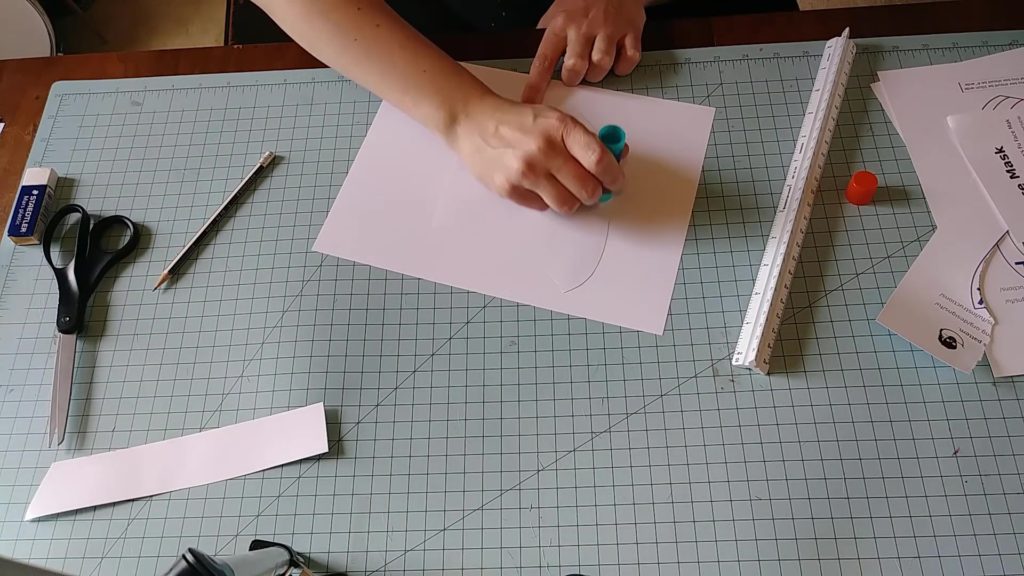
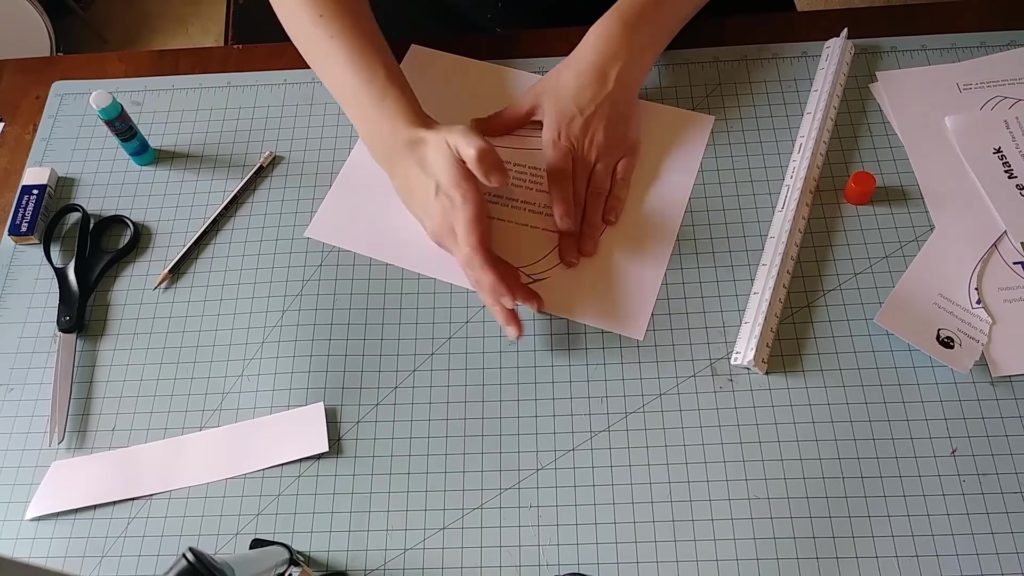
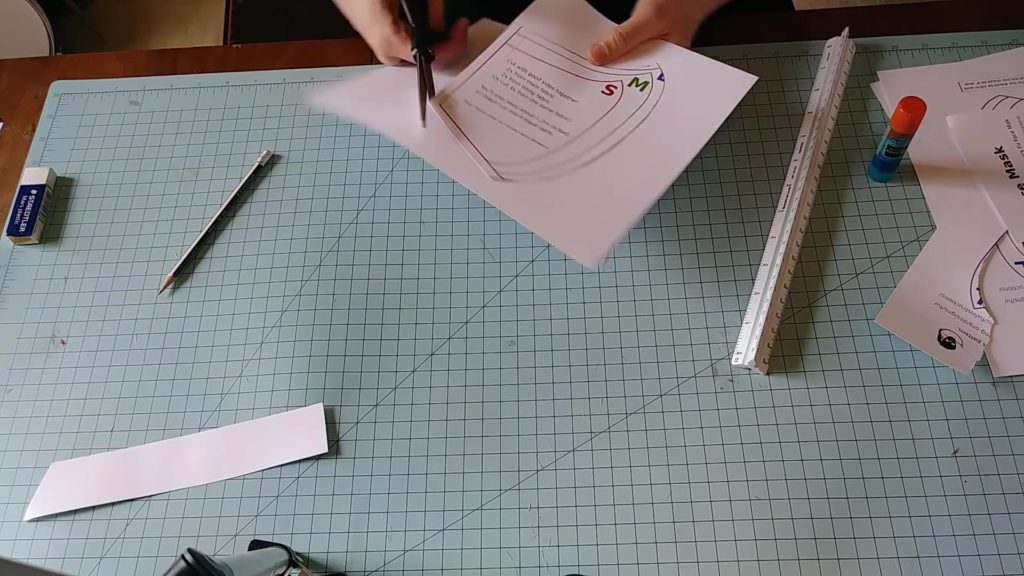
Repeat the process one more time to make your pattern piece three layers thick and now you’ve got your template!!
Place it under a heavy book for about 5 minutes so that it will dry flat.
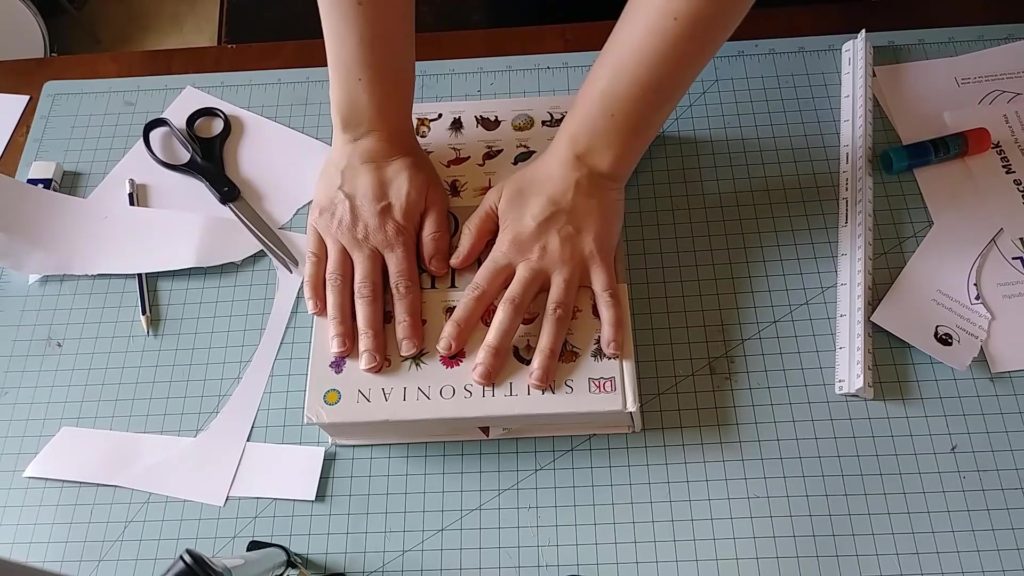
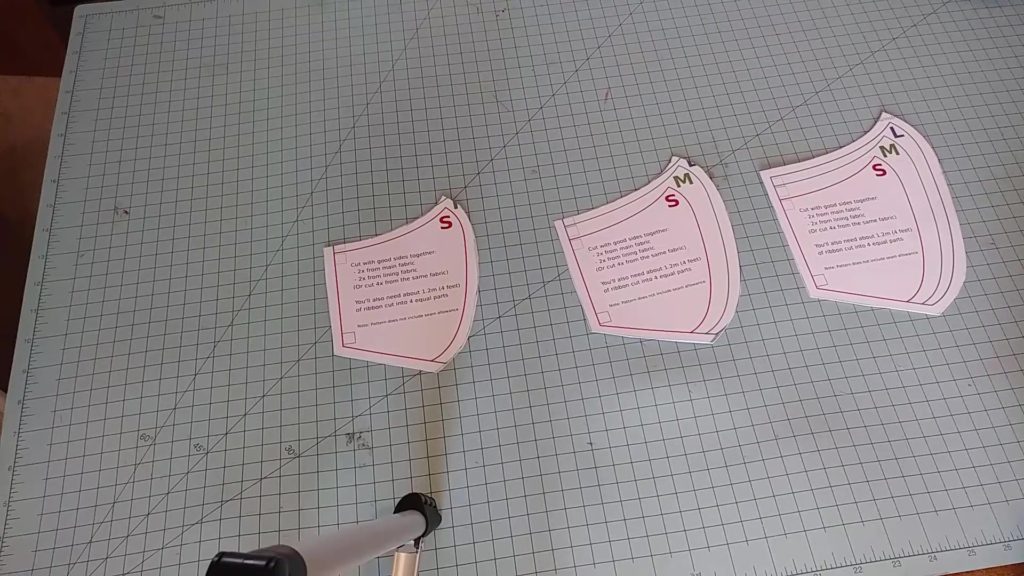
I made templates for each size but decided to just make size medium for this project.
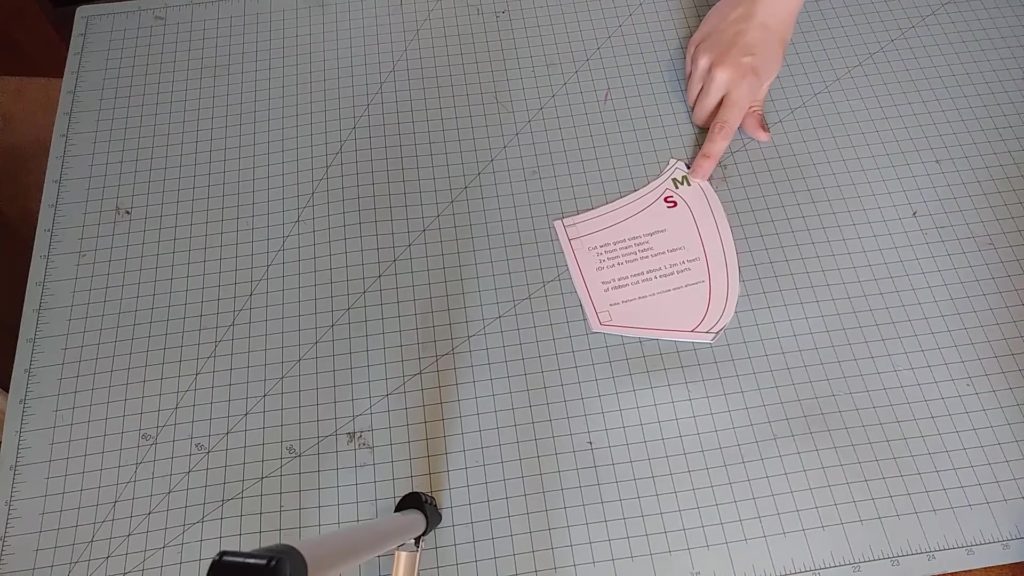
By now hopefully your fabric is washed, and dried so go ahead and grab those.

Iron in Bulk
Iron ALL of your fabric it at once. I know it is tempting to iron one piece of your favorite floral print cotton and then cut them out one-by-one to admire how cute they look but SNAP OUT OF IT! Focus people 😂! We are making a lot of masks quickly, so you gotta get the boring parts done.
I ironed mine folded in half, parallel with the selvage edge so that when cut later I was cutting double. To make things go even faster fold your fabric so that right sides are together. This way, when you cut them out right sides will already be together and ready to sew.
Get to Cutting!
Start Tracing your Template
Now that ALL of your fabric is ironed (yes my sweet creative butterflies, even yours) you can start tracing your pattern template. Make sure the grainline is relatively correct but I wouldn’t obsess over it with a ruler or any thing.
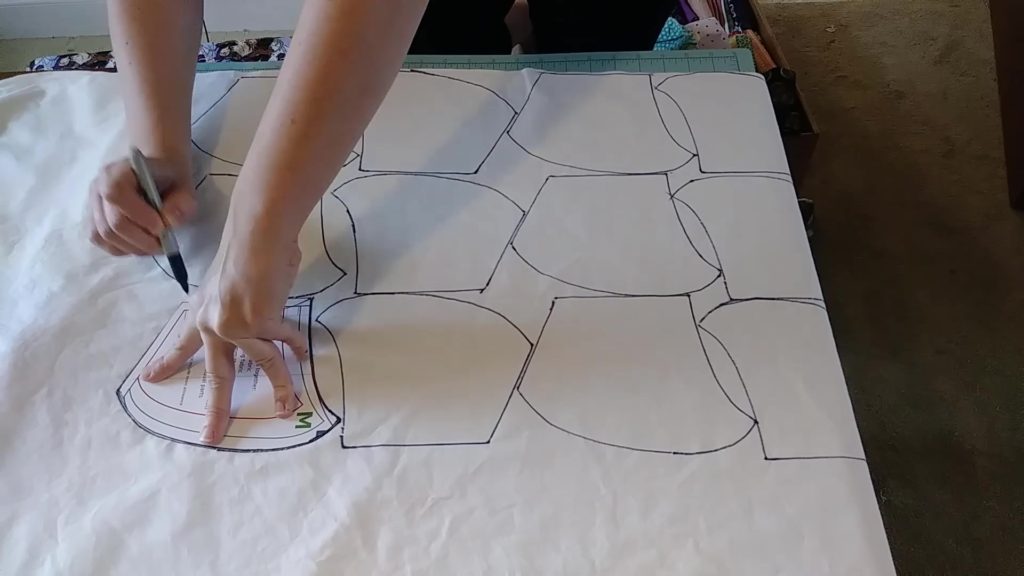
Trace around each template with either a washable fabric marker or if you are using a serger you can just go ahead and use a Sharpie.
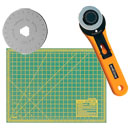 Olfa 45mm Rotary Cutter (RTY-2/G), 18×24 Inch Cutting Mat, 5pack Blades – $59.99 This combo set comes with Olaf rotary cutters, five pack of blades, and a mat to make your project easier. Purchase this combo set from SewingMachinesPlus.com. |
Cut
Next, cut out all of your pattern pieces in one setting. If you are used to using a rotatry cutter for curved pieces go ahead, if not stick to your sharpest pair of fabric scissors.
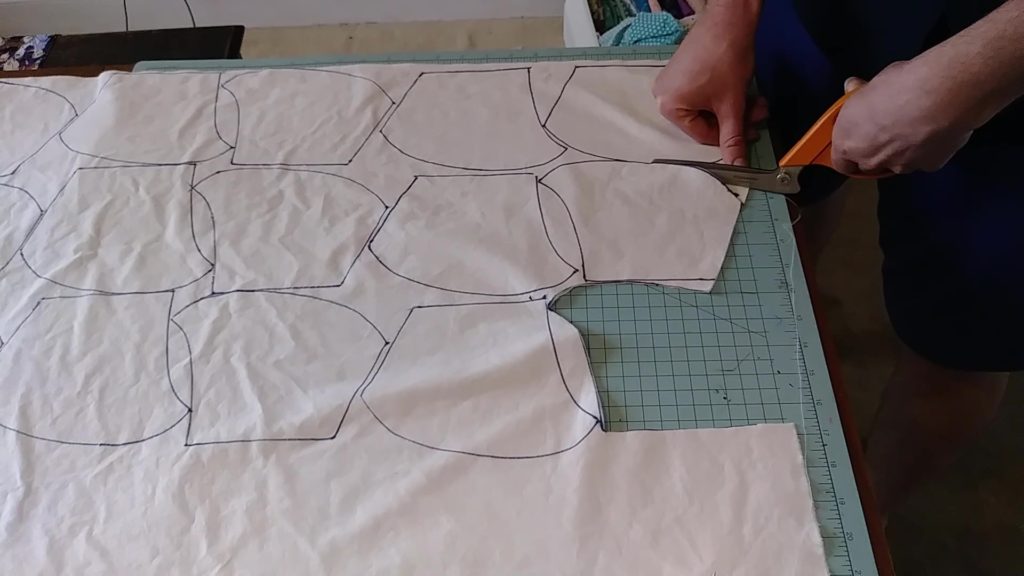
To make things go even faster, my husband helped me cut so that I could jump right into assembling these masks. Somebody has got to get that poor man some left-handed scissors.
Sew
In assembly line style I sewed all the left and right face mask pieces together on the center seam (the rounded edge).
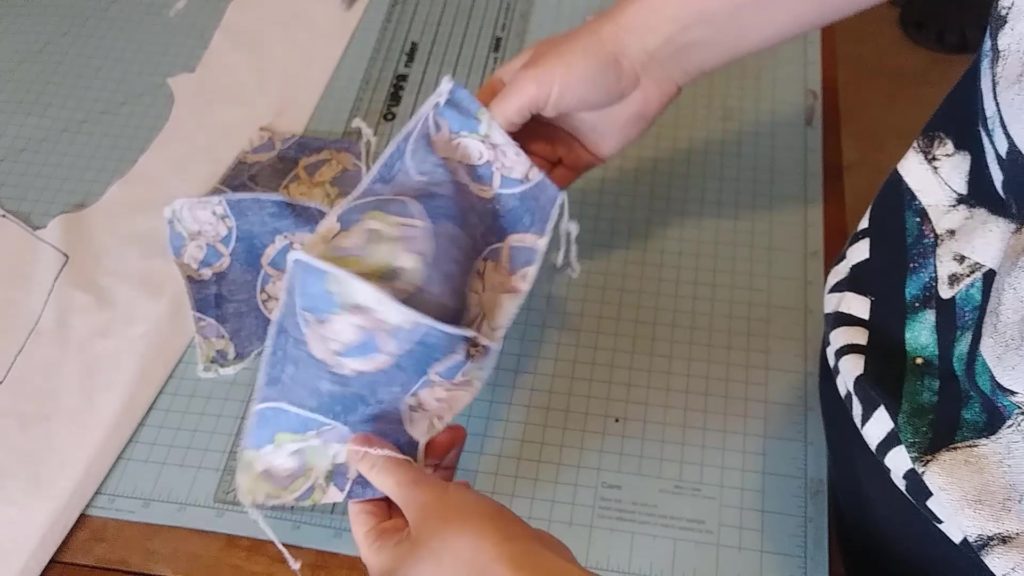
I used printed cotton for the front and plain white cotton for the lining.
Janome Magnolia 7330 and MyLock 634D Overlock Serger Combo & FREE BONUS
Next I went ahead and sewed the top and bottom edges of all the front and back masks together with right sides together. This left the sides open so that I could turn the masks right side out.
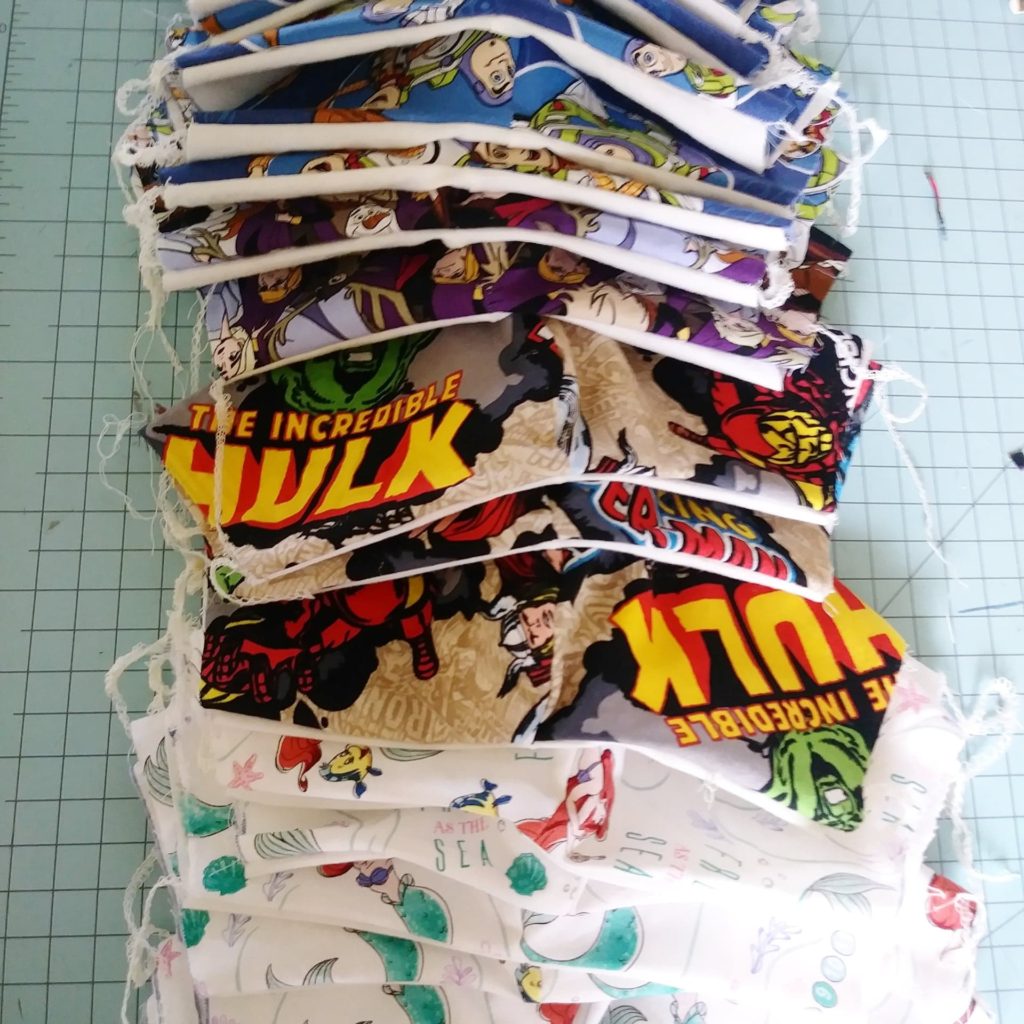
That’s a lot of masks!
Adding Ties and Elastic
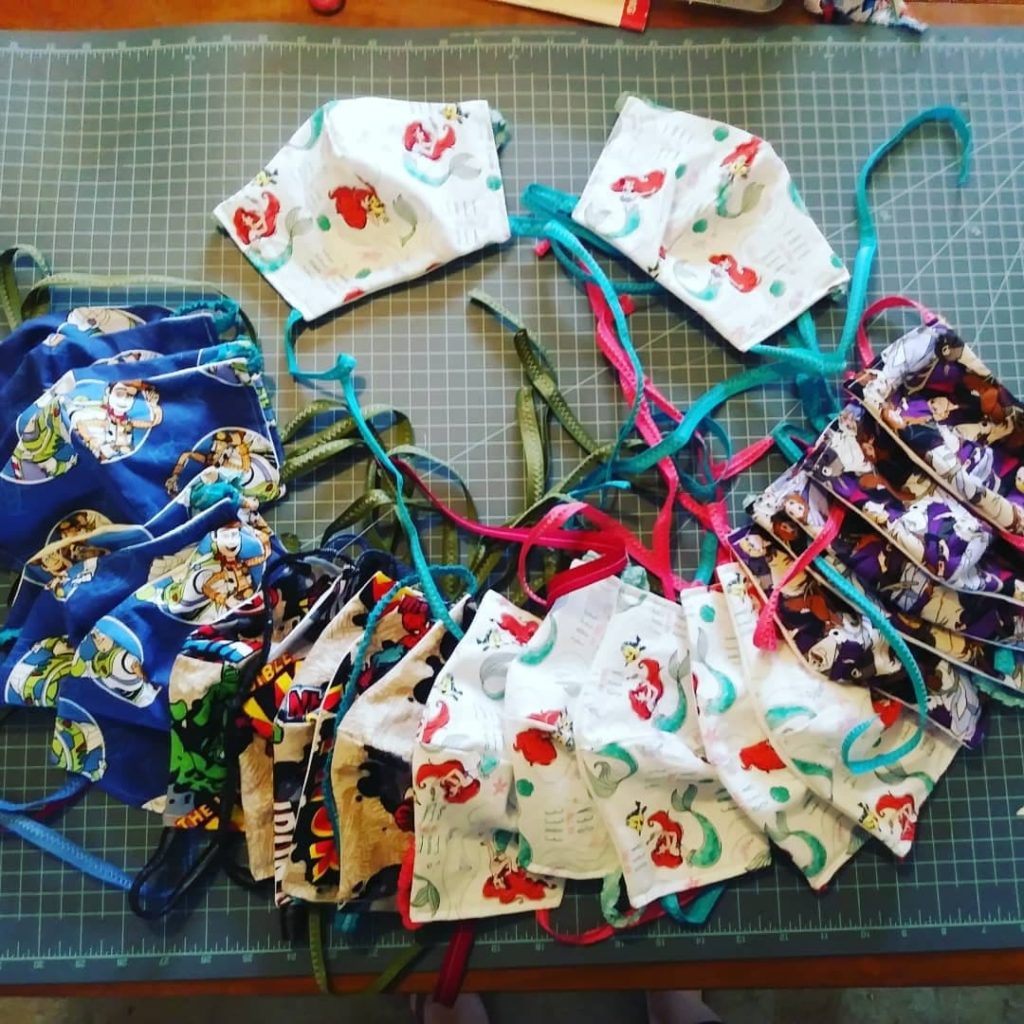
For this pattern I changed the design a bit and added elastic on the top and kept the ties at the bottom. How you assemble them will depend on the pattern you are using but the idea is to do this step all at once and not bounce around your sewing stations as stated earlier.
Keeping Your Masks Clean
The hospital or clinic you give your masks to will steralize them before using them but you should still try to keep them as clean and dry as possible along the way.
As soon as I was finished with my masks I put them in a gallon zip lock bag.
In addition, throughout the process I kept the masks out of reach of my kids and pets.
If you have any questions leave a comment below and I will get back with you soon!! Happy sewing!
